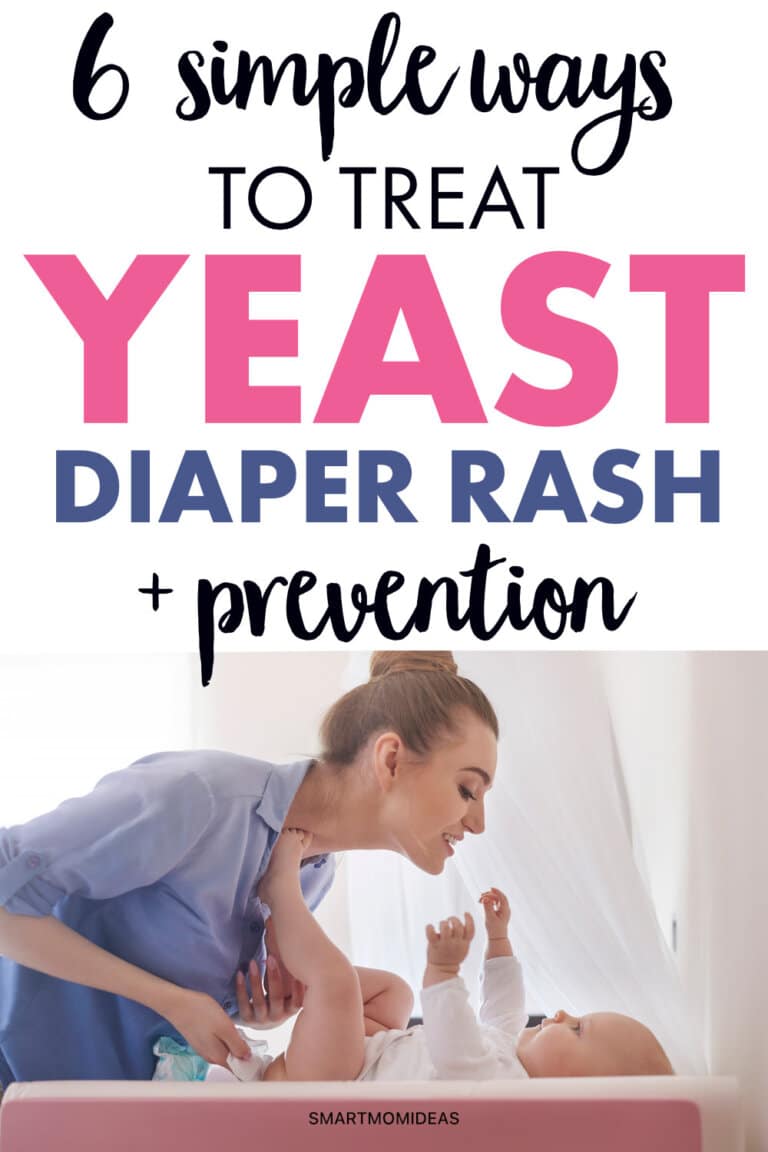
Learn these simple ways to treat diaper rash for good!
As moms, we’ve all been there – opened up our little one’s diaper to find a raging rash covering their skin!
It’s heartbreaking since rashes can often be uncomfortable and even painful, but it is a common occurrence that can be treated quickly and easily at home.
However, there are two main types of diaper rash, and knowing which one you’re dealing with is key to treating it properly.
Prevention is also important too, especially since there are simple things you can be doing to reduce the chances of your baby getting a diaper rash altogether.
So if you’re little one is suffering from a diaper rash, here are some ways you can figure out if it is a yeast diaper rash as well as preventative measures you can take and simple ways to treat it.
Diaper Rash Versus Yeast Rash
No diaper rash of any type is fun for your little one – but knowing the difference between a diaper rash and yeast rash is important when it comes to treating the symptoms and discomfort.
First of all, diaper rashes are caused by irritation to the skin, whether this is from the diaper rubbing against it or moisture causing the skin to break out.
These rashes are typically red and flat and can be easily cleared up by using a diaper cream or allowing air to access the area.
Yeast rashes, on the other hand, are caused by the growth of Candida, a type of fungus that thrives in wet and dark environments and can lead to infections.
These rashes appear as individual raised dots or clusters of dots that cover a large area. While normal diaper rash remedies can help to clear the area, oftentimes anti-fungal treatments are required.
How to Prevent Yeast Diaper Rash
They say an ounce of prevention is worth a pound of cure, so stopping yeast diaper rashes before they happen can help your little avoid the discomfort and pain caused by these rashes.
You can prevent a yeast diaper rash from occurring by following these tips:
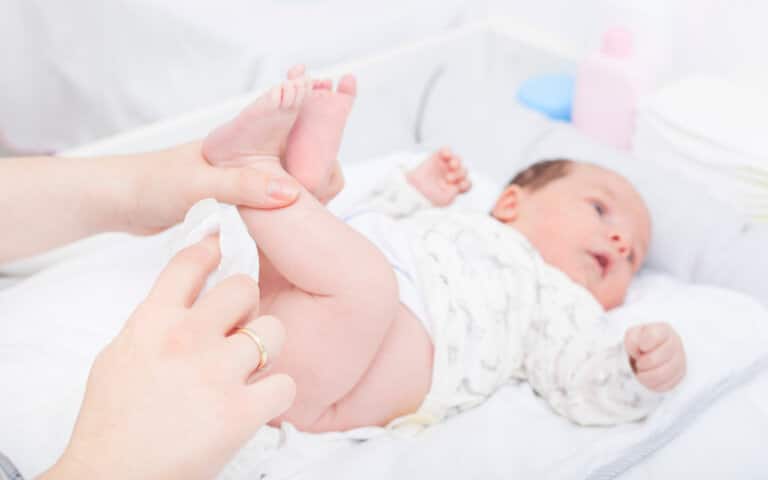
- Regularly bathe your baby in warm water and clean their diaper area thoroughly after each change.
- Change your little one’s diapers often. Leaving a baby in a wet diaper can lead to yeast growth and rashes.
- Avoid diapers and covers that prevent airflow. These can trap moisture and encourage yeast to grow.
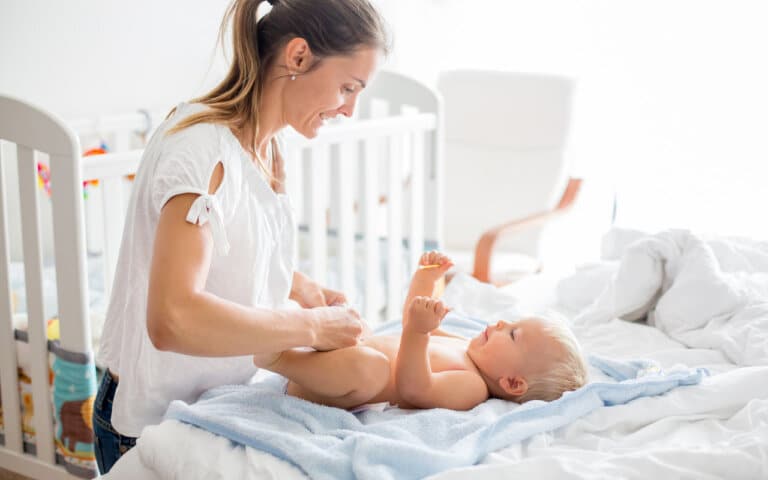
- Consider using a diaper cream after every diaper change to protect your little one’s skin from urine and stool. There are many great natural options out there or you can make your own.
- Avoid baby products, such as lotions and soaps, that contain fragrances and dyes. These can irritate the skin and open the door to yeast diaper rashes.
Be rest assured that diaper rashes, yeast or otherwise, are common with babies and younger children – so don’t feel bad if your preventative measures don’t work!
Simple Ways to Treat Yeast Diaper Rash
Again, diaper rashes are common but when they are yeast rashes they need to be addressed quickly in order to clear the rash and allow the affected area to heal.
If your little one does end up with a yeast diaper rash, don’t worry! Here are some super simple ways you can treat it quickly and effectively:
1. Monistat (Miconazole)
Monistat is a treatment used for fungal infections – particularly vaginal yeast infections in women (which is why the name probably sounds all to familiar!).
It can also be used to treat yeast diaper rash but make sure you buy the right variety: Monistat 7 (it’s specifically formulated to be anti-fungal).
When using Monistat to treat your little one’s rash, begin by gently cleaning the area with water and a soft cloth. You can also use Water Wipes or any wipe without added chemicals.
Once clean, pat your baby down gently with a clean, dry towel.
Using only the tube of Monistat cream (you don’t need the inserter included in the box), apply the cream liberally to the affected area.
Follow up with a diaper cream to create a barrier between the Monistat and your baby’s diaper. Many parents use Desitin or Penaten but you can also try organic products such as Earth Mama Organic Diaper Balm.
You should repeat this process every diaper change as well as bedtime and naptime. You should see a difference in your baby’s yeast diaper rash within 24 hours and it should clear up within 72.
2. Make Your Own Yeast Rash Cream
If you’re looking for a more natural remedy, you can also make your own rash cream. You can make as much or as little as you need and store it in the fridge for future use.
Mix together 1 tablespoon of organic, raw and unrefined coconut oil, ½ teaspoon of powder probiotics and ¼ teaspoon of grapefruit seed extract and store it in a glass jar.
The coconut oil not only helps create a protective barrier over the rash but has anti-bacterial and anti-fungal properties. The probiotics aid in reintroducing good bacteria with the grapefruit seed extract fights against the yeast.
Slather this cream onto your baby’s rash after gently washing and thoroughly drying the area. This should be done every diaper change and before bedtime and naptime.
3. Apple Cider Vinegar
Apple cider vinegar (also known as ACV) is a popular remedy for many skin-related issues. ACV has anti-fungal properties and can be used topically to treat yeast diaper rash.
Mix up a solution of three parts filtered water to one part raw apple cider vinegar. Some ACV’s are pasteurized, so make sure you’re using an unpasteurized one such as Bragg Organic Apple Cider Vinegar.
Bonus? You may have some in your kitchen already!
With every diaper change, and before your little one lays down to sleep, clean and dry the area before applying the ACV mixture gently with a clean cotton cloth or a cotton swab. Make sure to dab, not rub, the affected area.
You can even add ¼ cup of apple cider vinegar to your little one’s bath to provide treatment and relief.
4. Bentonite Clay
Another simple remedy you can try for treating yeast diaper rash is bentonite clay. It’s highly effective in absorbing moisture (which leads to the growth of yeast) and is a more natural choice than the age-old use of corn starch.
Simply apply the bentonite clay to your little one after cleaning and drying the affected area.
Bentonite clay is great for all kinds of rashes and skin conditions so it’s handy to keep around even beyond your baby’s diaper days.
5. Switch Up Your Diapers and Wipes
It could be that your little one’s skin sensitivities have less to do with moisture and more to do with what is coming into contact with their skin.
Not all wipes and diapers are created equally, so it’s important to look at the ingredients and materials to see if anything could be irritating your baby’s skin.
With diapers, it can be hard to pinpoint exactly what is causing the yeast diaper rash, so you may have to try different brands before you find one that works.
If you use cloth diapers, you may need to consider what products you are using to strip and launder them.
Wipes are a bit easier to switch up since there are many organic and chemical-free options. Just pay attention to the ingredients labels – products marketing as “organic” may not be that organic.
I mentioned Water Wipes above but it’s worth noting that these wipes contain 99.9% water and were awarded the National Eczema Association of America’s Seal of Acceptance.
However, you can always try your hand at making your own wipes with paper towels and a mixture of water and gentle hypoallergenic soap.
Whatever way you do it, swapping out diapers and wipes with new ones may be the key to clearing up your baby’s yeast diaper rash.
6. Go Bare Bum
Again, yeast thrives in dark and wet places so letting your little one run around bare-bummed can help keep the area dry and allow it to heal.
Especially if you can let your little run around bare-bummed outside! The combination of fresh air and sunshine can really help reduce the presence of yeast and clear out the rash.
Before you let your little one run free, make sure you have the appropriate outdoor space to do so (i.e. private). You’ll also want to make sure your baby is kept out of the direct sun or slathered up with sunscreen.
Even if you can’t take your little one outside while in the buff, diaper-free time inside your home can help heal the yeast diaper rash as well.
When to See a Doctor
Not all treatments may be effective or you may find your little one constantly getting yeast diaper rashes even if you take preventative measures.
If the treatment is unsuccessful after 2-3 days, or the symptoms get worse, it’s time to have your baby looked at by a doctor.
Here are some other instances where you should have your little one checked out by the doc:
- The rash spreads to other parts of the body besides the diaper area.
- Skin eruptions, such as blisters, pimples or sores, begin to form.
- Your baby develops a fever.
- The rash is very painful for your little one.
- The rash appears only a few weeks after birth.
If you notice any of these signs, or just feel that you want to have the rash checked out, do not hesitate to seek professional medical advice.
Treating Yeast Diaper Rashes – It’s So Simple!
I know it can be a moment of panic when you see raised and irritated bumps forming on your baby’s skin but, as long as you treat it quickly and with care, you can have that yeast diaper rash cleared up in no time!
Hopefully, this article has given you some ideas of what to keep on hand as well as ways you can help prevent yeast diaper rashes altogether.
Don’t forget to pin for later!


Leave a Reply