Organize your kitchen pantry the easy way and stop wasting food!
Isn’t dinner time stressful enough?
After working all day on my business, running after my toddlers, and catching up on errands, the last thing I need is dinnertime stress.
I recently wrote about some easy make ahead freezer meals which have been an absolute game changer.
But it doesn’t end there!
When I’m trying to get dinner on the table quick – and keep my eye on the twins – one thing guaranteed to increase dinnertime stress is hunting through a chaotic pantry to find that one can of sauce.
Can you relate, mama?
And to be honest, my pantry has been messy for a while.
So after some seriously cold weather put a halt to our weekend plans, I decided to bite the bullet and get it done.
And to help you with organizing your pantry, I have a simple no-fuss way of doing it!
The Misery of a Messy Pantry
Maybe you’ve been putting this off a while, eh?
Because you figured it would get messy again as soon as you finished organizing. So, why bother, right?
And, once you dive into pantry organizing, you’ll realize one serious reason you should have done this sooner – you’re going to have to throw out loads and loads of out-of-date and spoiled food! I can’t believe the money I wasted replacing stuff I already had.
And that’s not surprising. Nothing in my pantry seemed to have a proper home. So, when my husband or kids helped put away groceries – well, you can imagine the chaos!
I know organizing the pantry seems like an overwhelming chore you don’t have time for. And I so get you, mama! But an organized pantry is a money – and time –saver!!
So, to get you started here are the 5 things you can do to get your panty in tip top shape.
How to Organize Your Kitchen Pantry
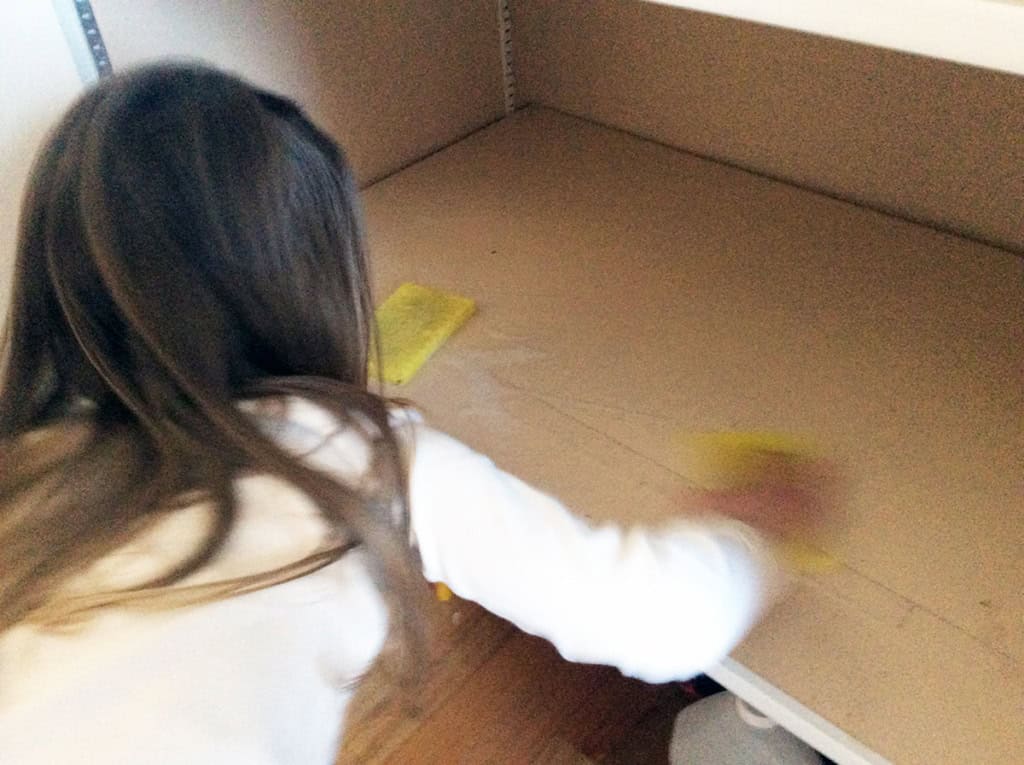
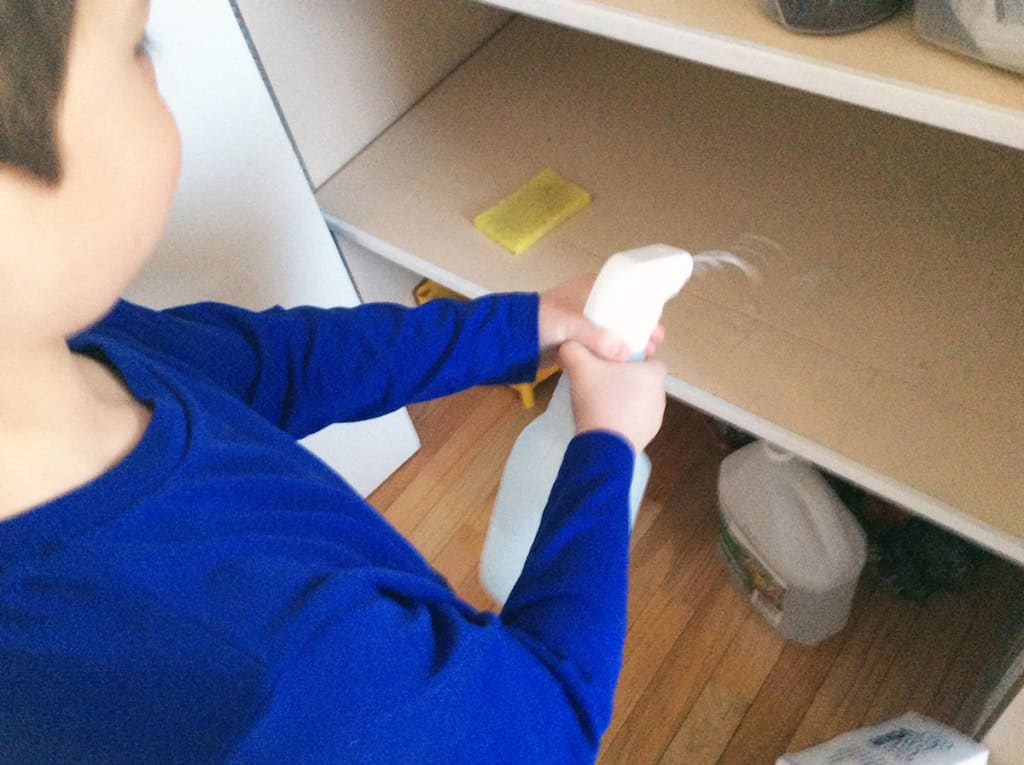
Start by taking everything out. Yes – everything. Yikes!
And then give the whole pantry a good scrub with dish soap – walls and all. The twins were very enthusiastic about helping with this.
My twins just love helping out and it helps me clean my kitchen too!
1. Organize the Dry Goods
You definitely want to protect your dry goods – flour, cake mixes, rice, lentils – from any pests. And to keep them from spilling all over the place! I ended up trying airtight canisters for my pasta and flour.
They are space saving and come in different sizes too. And – don’t worry – they’re BPA-plastic free. I think they’d also be perfect for organizing the craft room or home office too, now that I think about it!!!
My biggest challenge was finding a home for everything and making sure my family knew where everything was.
From talking to other moms, I realize this is a universal problem. Labels is the way to go.
I ended up just grabbing my trusty label maker. Done is better than perfect. Right, mamas?

Don’t put off your organizing to look for the perfect labels.
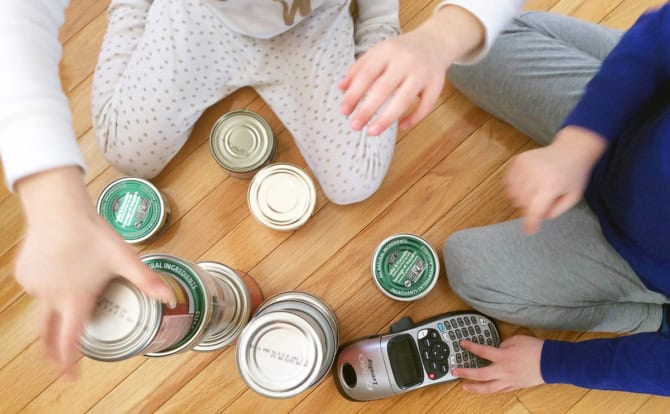
2. Organize the Cans
Next tackle the cans – once my twins had stopped building little towers with them all over the kitchen floor.
Doing some kind of stock rotation is essential because you’ll end up finding 2 year old chicken stock – like me! I’m thinking every season change to do a clean out! My husband and I don’t buy a huge range of canned goods but there are some things we can’t live without – peeled tomatoes, corn, beans.
These wire can holders are similar to the ones I found in a discount store and they actually hold a lot of cans.
And of course you could just line up the cans on your pantry shelf. But – being honest with myself here – I know that I’d struggle to keep the cans lined up neatly when unpacking the groceries.
Now I can see at a glance what I need to restock when it’s time to go shopping.
3. Organize the Snack Bins
My twins are now 5 – how did that happen??
And I’m always looking for ways to make them more independent. One easy way is to store kid-friendly treats into a basket and moved them to a lower shelf where they could reach them.
You can also use a smaller basket to store your Keurig coffee pods – mama gotta have her coffee!
I’m learning that baskets are becoming my BFFs! It’s so easy for your family to see at a glance where things go. I use them for their craft bins to organize what goes where since we have about a gazillion crayons, glue sticks and pencils.
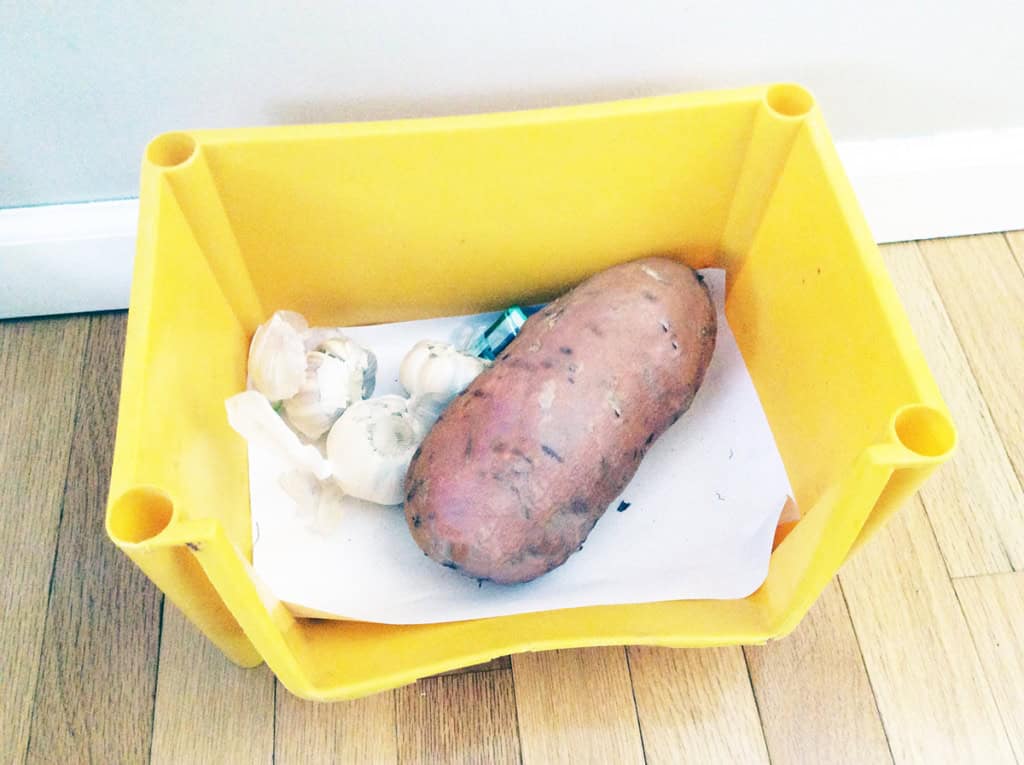
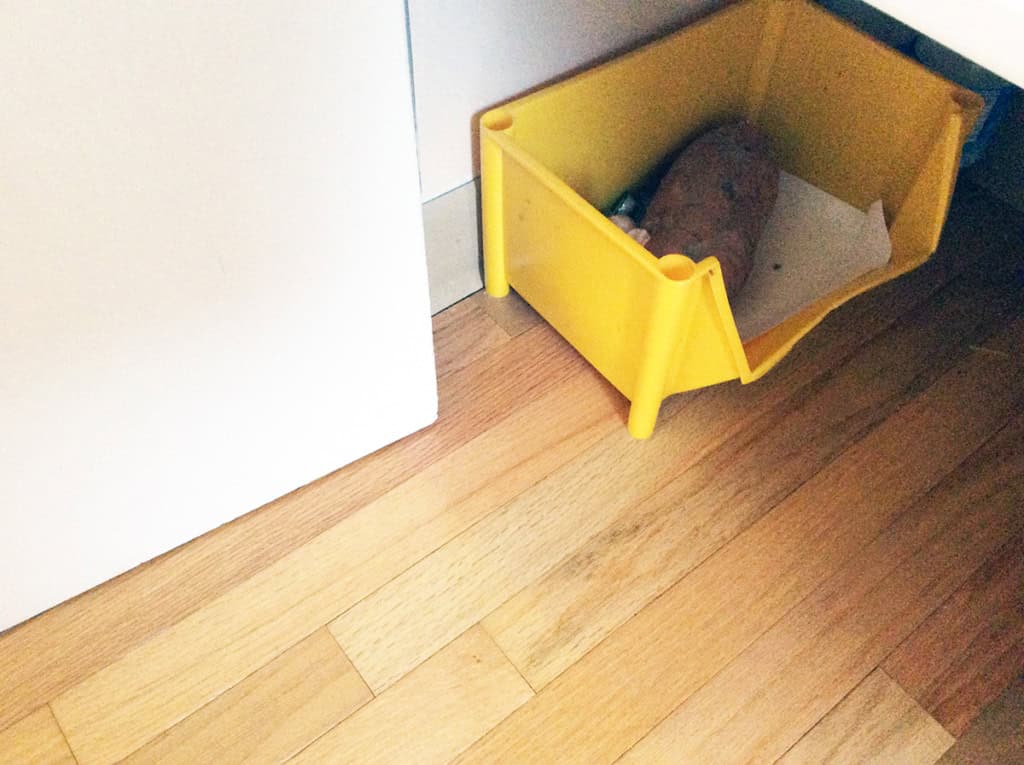
But be sure to choose lined baskets or vegetable bins. With unlined baskets, I find that the contents can get easily get snagged on the inside of the basket. Not fun. One thing I’ve been using for a while are these stackable vegetable bins and place them on the bottom of my pantry to stay cool.
Plus, they’re stackable!
Labelling the baskets can also be a great way to help your little ones start to recognize their own name or other common words. For the pantry choose a kid-friendly large font label and stick it on their snack basket.
4. Organize the Bottles and Condiments
We’re nearly done, mama. I promise!
Next, gather together all your bottles of condiments, oils, and salad dressings (And I was disappointed that I had to throw away several out-of-date bottles. Can I say money waster?)
If you want something more durable and safer for little ones, try these lazy suasans:
5. Organize the Vegetables
I’m so done with finding sprouting potatoes in my pantry (that sweet potato in my vegetable bin photo needs to be eaten today!!!).
You can use the same type of bins I do, or stackable bins to make sure of the vertical space – just make sure it comes with a dip in the front so you can easily access goods in each basket, even when they’re stacked. If an organizing system doesn’t work for you, mama, ditch it. It isn’t worth the trouble.
There Ya Go!
I’ll be honest – it does take a bit of effort, but you’ll L-O-V-E looking at your organized pantry. You won’t have to throw away any food again and it can actually helping you lose the baby weight too!
Please pin me!
Now, tell me – what’s your go-to way for organizing your kitchen pantry?


Leave a Reply